
Hey there! It’s great to see that you’re interested in creating the best models possible! I wanted to let you know that careful texturing is often a key ingredient in achieving that goal. This document gives a brief overview of texturing, but for more in-depth information, be sure to check out the other articles we have available. Happy modelling!
Blockbench is an efficient 3D modelling software that allows users to create and edit 3D models with ease. Blockbench is the favoured platform for the creation of Minecraft models, this software boasts a number of quality of life features for the creation of Minecraft marketplace model content, as well as an active user base. One of the many features of Blockbench is the ability to texture your 3D models. In this article, we will explore the process of texturing in Blockbench.
To create a new texture in Blockbench, simply click on the ‘Textures’ tab on the left-hand side of the screen, and then click ‘New Texture’.

This will open a new window where you can create and edit your texture. You can choose the size of your texture, and then begin adding colors and patterns to your texture. Don't worry about the options - we will take you through them!

Typically, you don't need to change any of these settings except pixel density.
💡 For more information on how to create high quality textures, check out our article on our texturing approach for Blockbench.
Blockbench also allows you to edit your textures after they have been created. To do this, simply import the texture, or open the model that you wish to modify. Switch to the ‘Textures’ tab and select the texture. You can then paint directly onto the model in the 3D viewport, or paint the texture directly in the 2D texture window.
💡Want to learn more about texturing? Check out this article to learn how to texture models like we do!
Texturing is an essential part of creating 3D models, and Blockbench makes it easy to create and edit textures for your models. With its intuitive interface and powerful tools, Blockbench is a great choice for anyone looking to get started with 3D modeling and texturing.

Thomas has been with Lothiredon as a lead builder since 2019.
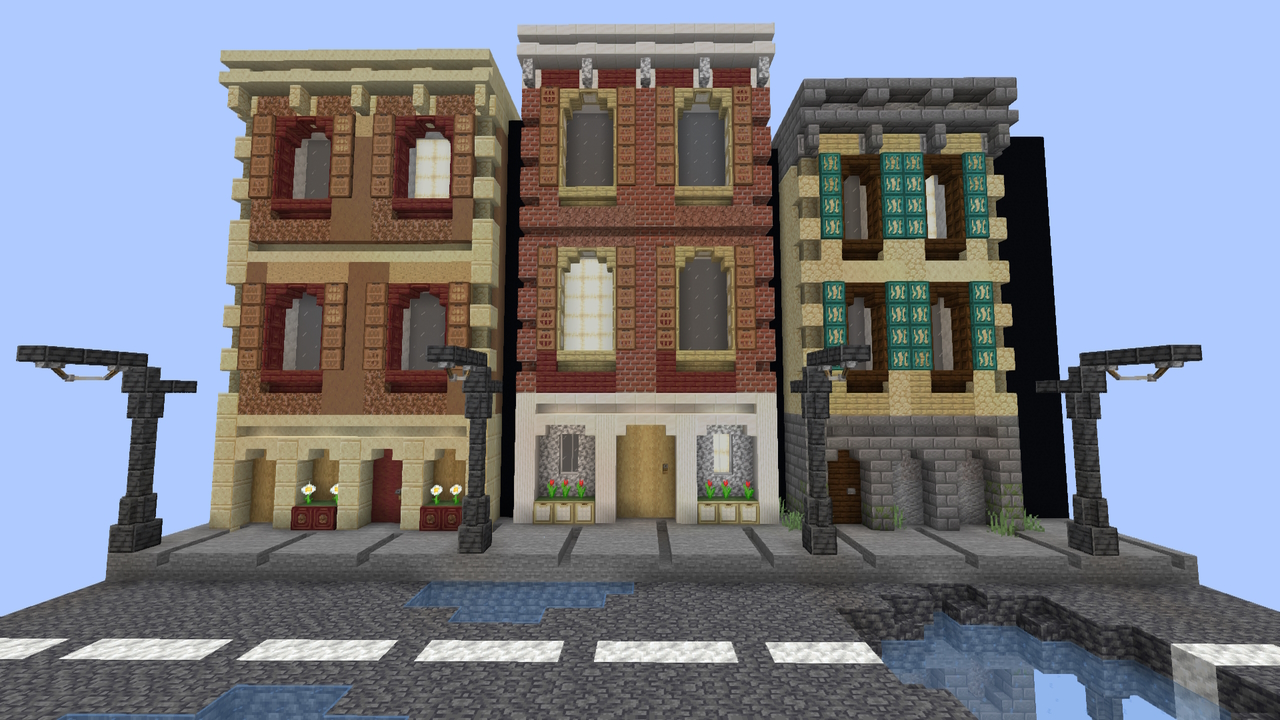
Learn how to apply colour and texture to your build with this handy guide!
Read more
Double, triple or even quadruple your building speed by using this quick-guide for the most useful WorldEdit commands while building, written by an avid command-user!
Read more
Using these 5 steps as taught by our professional builders, quickly improve your structures and building techniques in Minecraft!
Read more


